Django is a high-level full stack open source web framework written in Python, that encourages rapid development and clean, pragmatic design. Django comes with lots of advance functionalities baked in which saves developers a lot of time. The simplicity Django offers lets developers focus more on writing the app instead of rewriting the same wheel. Since it's release in 2003 Django has proven to be the most productive framework for Python developers to know more about Django read: Django – Web Framework For Perfectionists
In this article, we will create the traditional "Hello, World!" app, which will basically display the string 'Hello, world!' in the browser. This might be your first Django app so pay close attention to the core principles of Django which we will discuss later in the article.
Creating A Virtual Environment
Though this is an optional step yet it is highly recommended to use virtual environments in your projects, to know why are virtual environments so important read: How To A Create Virtual Environment for Python
In a nutshell, virtual environment lets you have an isolated space on your computer for different Python projects, ensuring that each of your projects can have its own set of dependencies and modules that won’t disrupt any of your other projects.
Let's kick off by creating a virtual environment for our hello world project.
For Windows
cd Desktopvirtualenv django
cd djangoScripts
\activate.bat
For Mac and Unix
mkdir djangocd django
python3 -m venv myenv
source django/bin/activate
Now you should see (django) prefixed in your terminal, which indicates that the virtual environment is successfully activated, if not then go through the guide again.
Installing Django In The Virtual Environment
Now, we need to Install Django on our virtual environment.
pip install DjangoThis will install the latest version of Django in our virtual Environment. To know more about Django installation read: How To Install Django
Creating A Django Project
Moving on, now time to build the Hello world project, this is a basic Django project. First, create a directory in your desktop named, hello_world and navigate into it.
cd Desktopmkdir hello_world
cd hello_world
Next, create a Django Project:
django-admin startproject hello_world_projectExecuting this will invoke the django-admin.py script which will set up a new Django project instance name hello_world_project in the hello_world directory.
hello_world_project/
   manage.py
   hello_world_project/
      __init__.py
      settings.py
      urls.py
      wsgi.py
To know about these files and the project structure we highly recommend to read: Starting A Django Project
Nevertheless briefly going over the files,
manage.py - Command line utility lets you interact with your Django project.
__init__.py – a blank Python script whose presence indicates to the Python interpreter that the directory is a Python package.
settings.py – Contains the configuration settings for the Django project.
urls.py – Contains URL patterns for the Django project.
wsgi.py – Contains WSGI configuration properties for the Django project.
Now, let's apply migrations and test our project. Navigate into the Base directory ( i.e. the outer directory ) and run these commands.
cd hello_world_project
python manage.py migrate
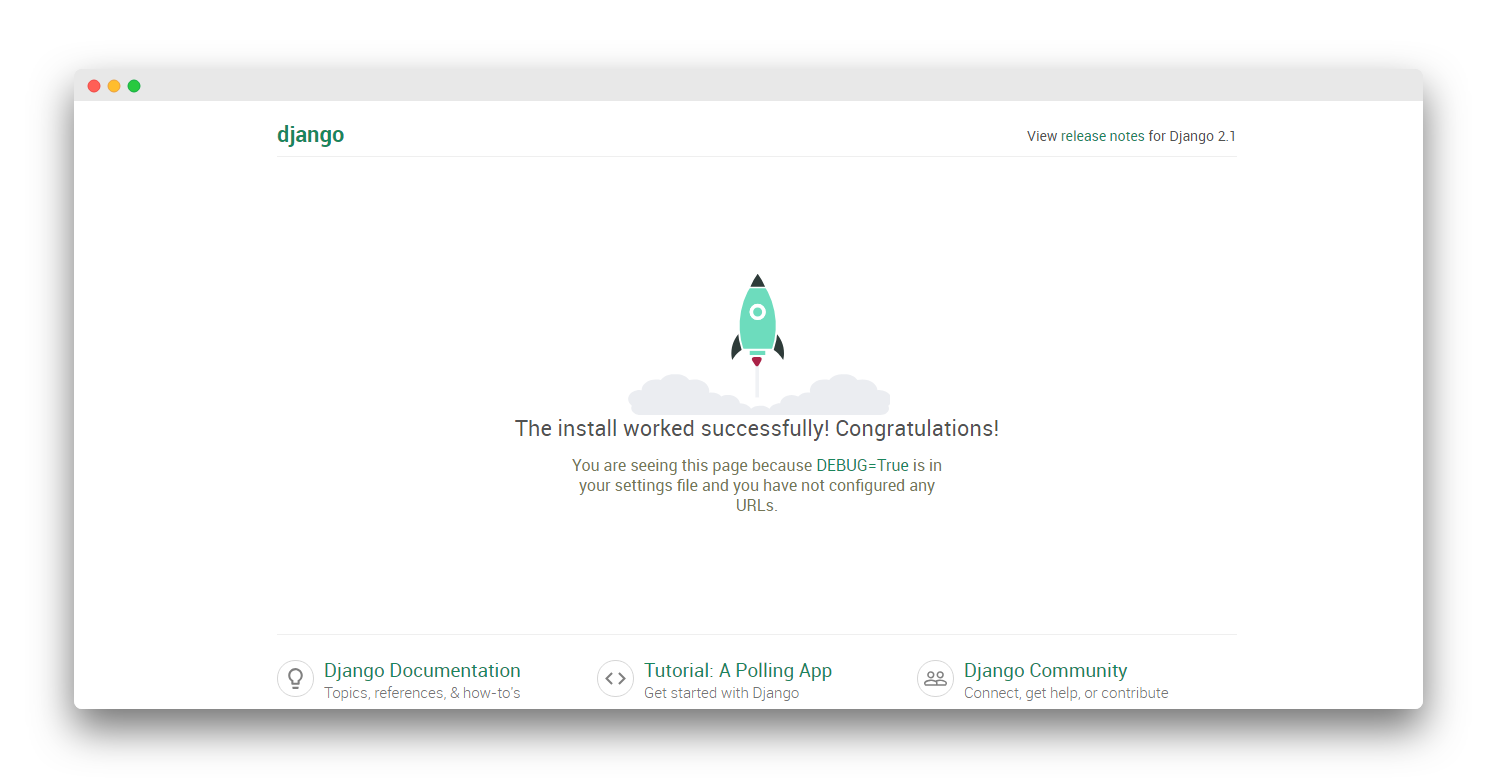
python manage.py runserverThis will start the Django's built-in server now open your preferred browser and navigate to this address http://127.0.0.1:8000/ if everything went well you should see the default Django's welcome page.
Now press ctrl+c in the terminal window, to stop the server.
Creating A Django App
A Django project is a set of applications and configurations which combined make a full-fledged web application. Django apps are the sub-directories inside the Django project. The purpose of Django applications is to perform a particular task which in this case is to render 'Hello, World!'.
Make sure you are at the outer directory where manage.py is and run the following.
python manage.py startapp my_appThis will create another directory inside the project called my_app, now the project should look something like this.
├── db.sqlite3
├── hello_world_project
│   ├── __init__.py
│   ├── settings.py
│   ├── urls.py
│   ├── wsgi.py
├── manage.py
└── my_app
    ├── __init__.py
    ├── admin.py
    ├── apps.py
    ├── migrations
    │   └── __init__.py
    ├── models.py
    ├── tests.py
    └── views.py
There are lots of new files in the apps which we haven't seen before in the project,
admin.py - File with admin definitions for the app - such definitions are needed to access model class instances from the Django admin
apps.py - File with configuration parameters for the app.
models.py - File with database definitions (i.e., model classes) for the app.
tests.py - File with test definitions for the app.
views.py - File with view definitions (i.e., controller methods) for the app.
migrations - The directory that contains migrations applied to the app’s database definitions (i.e., model classes).
Now we need to add this app into the Installed apps list in Django's settings so that Django can know about the app. Open your preferred text editor and open the settings.py file and scroll to the INSTALLED_APPS section. There you should see the list of built-in Django apps.
INSTALLED_APPS = [
    'django.contrib.admin',
    'django.contrib.auth',
   'django.contrib.contenttypes',
    'django.contrib.sessions',
    'django.contrib.messages',
    'django.contrib.staticfiles',]
Add my_app below the preinstalled apps and save it. Note that user-defined apps should always be below the pre-installed apps because Django read the apps in the top to down fashion and our app may rely on the Django's core apps.
INSTALLED_APPS = [
    'django.contrib.admin',
    'django.contrib.auth',
    'django.contrib.contenttypes',
    'django.contrib.sessions',
    'django.contrib.messages',
    'django.contrib.staticfiles',
    'my_app']
Creating Web App
Till now everything was about the configuration which is needed to be done for any web app, now it's time to actually design the app. Suppose you were creating a hello world app without a framework you'd simply type Hello world into a text file, call it hello.html, and upload it to a directory on a web server somewhere.
Notice in this process you've specified two key pieces of information about that web page: its contents (the string Hello world) and its URL (for example, http://www.example.com/hello.html).
With Django, you specify those same two things, but in a different manner. The view function produces the contents of the page in the views.py file and the URL is specified in urls.py file.
Let's create our first view, open views.py file of my_app and add the below lines.
from django.http import
 HttpResponsedef index(request):
    return HttpResponse('Hello, World!')
First, we imported the HttpResponse class from django.http module then we made a function that takes in a request and returns a HttpResponse object i.e. the string 'Hello, World!'. Note that every view function must take atleast one parameter by convention called request.
In order to see this view in our browser, we need to map this view in our URL configurations. Open the urls.py file of the main project. Which should look like this.
from django.contrib import admin
from django.urls import path

urlpatterns = [
    path('admin/', admin.site.urls),
]
Now we need to tell Django explicitly that we need to activate the view for a particular URL
from django.contrib import admin
from django.urls import path

# imported views
from my_app import views

urlpatterns = [
    path('admin/', admin.site.urls),
    # configured the url
    path('',views.index, name="homepage")]
First, we imported the views from my_app directory then in the URL patterns we added the path for the view which is the homepage hence blank string denoted with ' ' than we mapped this URL to our index view, and at last the optional argument name which we assign to homepage. This implies every request to the homepage should return the 'Hello, world!' string.
Now let's test out our app save the files open terminal and run the development server.
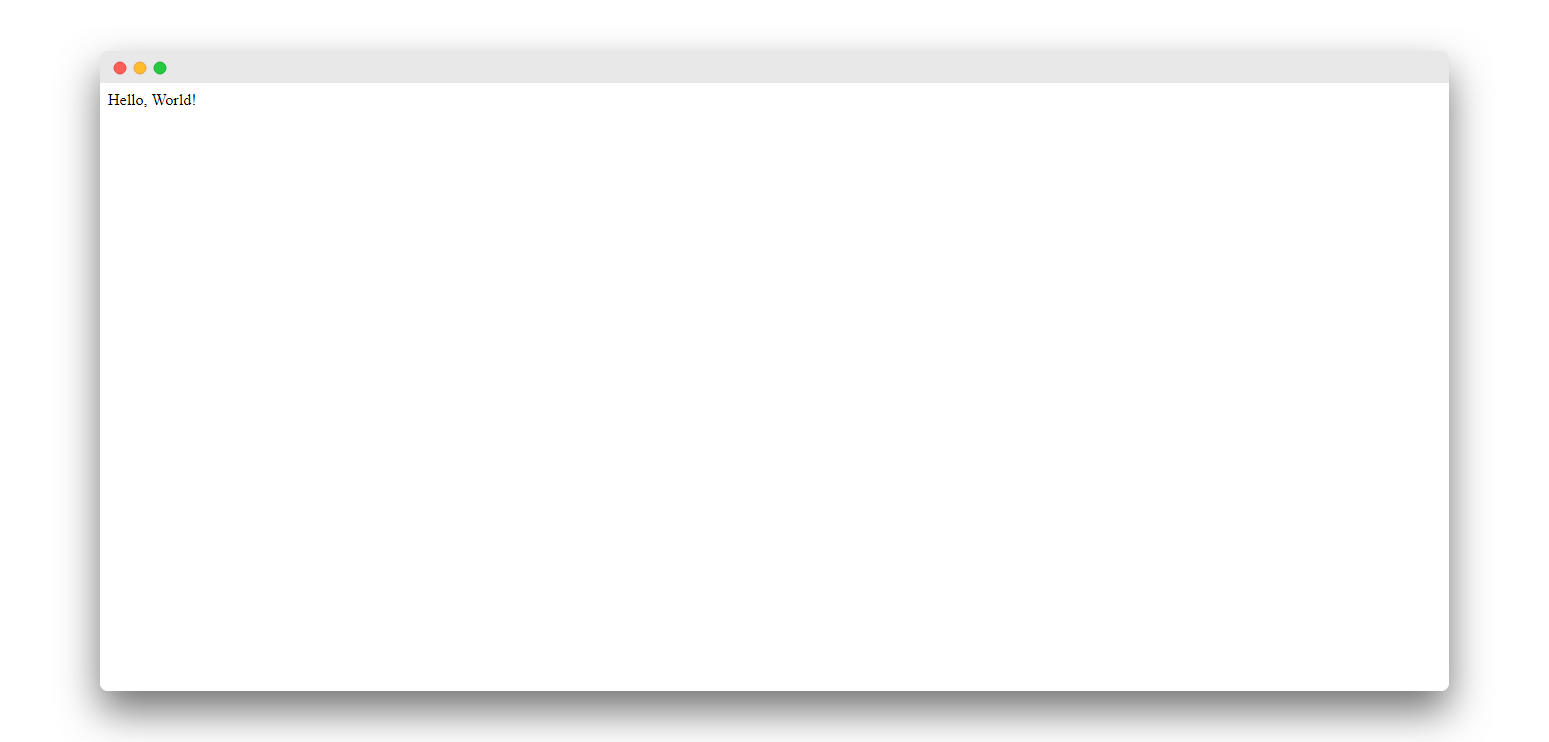
python manage.py runserverNow visit http://127.0.0.1:8000/ you should see Hello, World! written there.
Try adding random paths after the URL like http://127.0.0.1:8000/something this will return 404 pages because we haven't mapped URLs for those pages.
In this article, we went through the creation of the traditional 'Hello, world!' app with Django if you have any question regarding it feel free to ask in the comment section below.