Django is among the most recommended full stack web development frameworks at the moment. Django follows Model-Template-View (MTV) architecture. This is something similar to the traditional MVC( Model-View_Controller) architecture, but in Django, views are more like controllers, and MVC’s views are actually the template of Django.
Django templates define the layout and final formatting sent to end users after a view method is finished processing a request. MTV architecture lets Django sperate Python and HTML code which is necessary because at the moment browsers don't understand Python.
In this article, we will go through the configuration required for Django templates.
Configuring the Templates Directory
In order to use the Django Template Language (DTL), we first need to make some configurations in our Django project.
Prerequisite:
Note: I am assuming you have one Django project up and running also I am working with the hello world project from the guide above.
Step 1
Inside your project directory, create a folder named templates.
├── db.sqlite3
├── hello_world_project
├── manage.py
└── my_app
└── templates
Optional [For Django 2 or older]
In newer versions of Django [3+] we don't use os module anymore and this step is not needed.
Tell Django where the templates are housed in your settings.py create a variable named TEMPLATE_DIR under the BASE_DIR.
# Templates Directory

TEMPLATE_DIR = os.path.join(BASE_DIR,"templates")
This will yield an absolute path to the templates directory of our project irrespective of OS. Using this method is effective because, On a POSIX-compatible operating system, forward slashes would be used to separate directories, whereas a Windows operating system would use backward slashes.
If you manually append slashes to paths, you may end up with path errors when attempting to run your code on a different operating system.
Step 2
In settings.py scroll to the TEMPLATES, which should look like this.
TEMPLATES = [
    {
        'BACKEND': 'django.template.backends.django.DjangoTemplates',
        'DIRS': [],
        'APP_DIRS': True,
        'OPTIONS': {
            'context_processors': [
                'django.template.context_processors.debug',
                'django.template.context_processors.request',
                'django.contrib.auth.context_processors.auth',
                'django.contrib.messages.context_processors.messages',
            ],
        },
    },
]
Now add the newly created TEMPLATE_DIRS in the DIRS.
TEMPLATES = [
    {
        'BACKEND': 'django.template.backends.django.DjangoTemplates',
        #  Add  templates folder here
        'DIRS': [BASE_DIR / 'templates'],
        'APP_DIRS': True,
        'OPTIONS': {
            'context_processors': [
                'django.template.context_processors.debug',
                'django.template.context_processors.request',
                'django.contrib.auth.context_processors.auth',
                'django.contrib.messages.context_processors.messages',
            ],
        },
    },
]
Now save and close the file we are done with the configurations.
Verifying By Creating A Template
Now that we have made all the essential configurations for the Django Template Language (DTL), it's time to create some templates.
In your templates folder create a file named index.html
<!DOCTYPE html><head>
    <title>My Awesome Site</title>
</head><body>
    <h1> Hello, This is from Index.html</h1>
    <h3>{{ insert_me }}</h3>
</body></html>
This is a basic HTML file the odd thing out here is the variable {{ insert_me }}, Any text surrounded is pair of curly braces is a variable in Django templates. We will see this variable in action just in a bit.
Open views.py of your app and make a view function for this variable.
from django.shortcuts import render

def index(request):
    my_dict = {"insert_me": "I am from views.py"}
    return render(request,'index.html',context=my_dict)
We are using the Django's built-in method render which acts as a bridge between static HTML and Python. The render function takes three required arguments render(request, template_name, context=None)
Next, map URL for this view in your projects urls.py file
from my_app import views

urlpatterns = [
    path('admin/', admin.site.urls),
    # configured the URL
    path('',views.index, name="homepage")]
Save the files and run the server.
python manage.py runserverIf everything went well, you should see this in your browser.
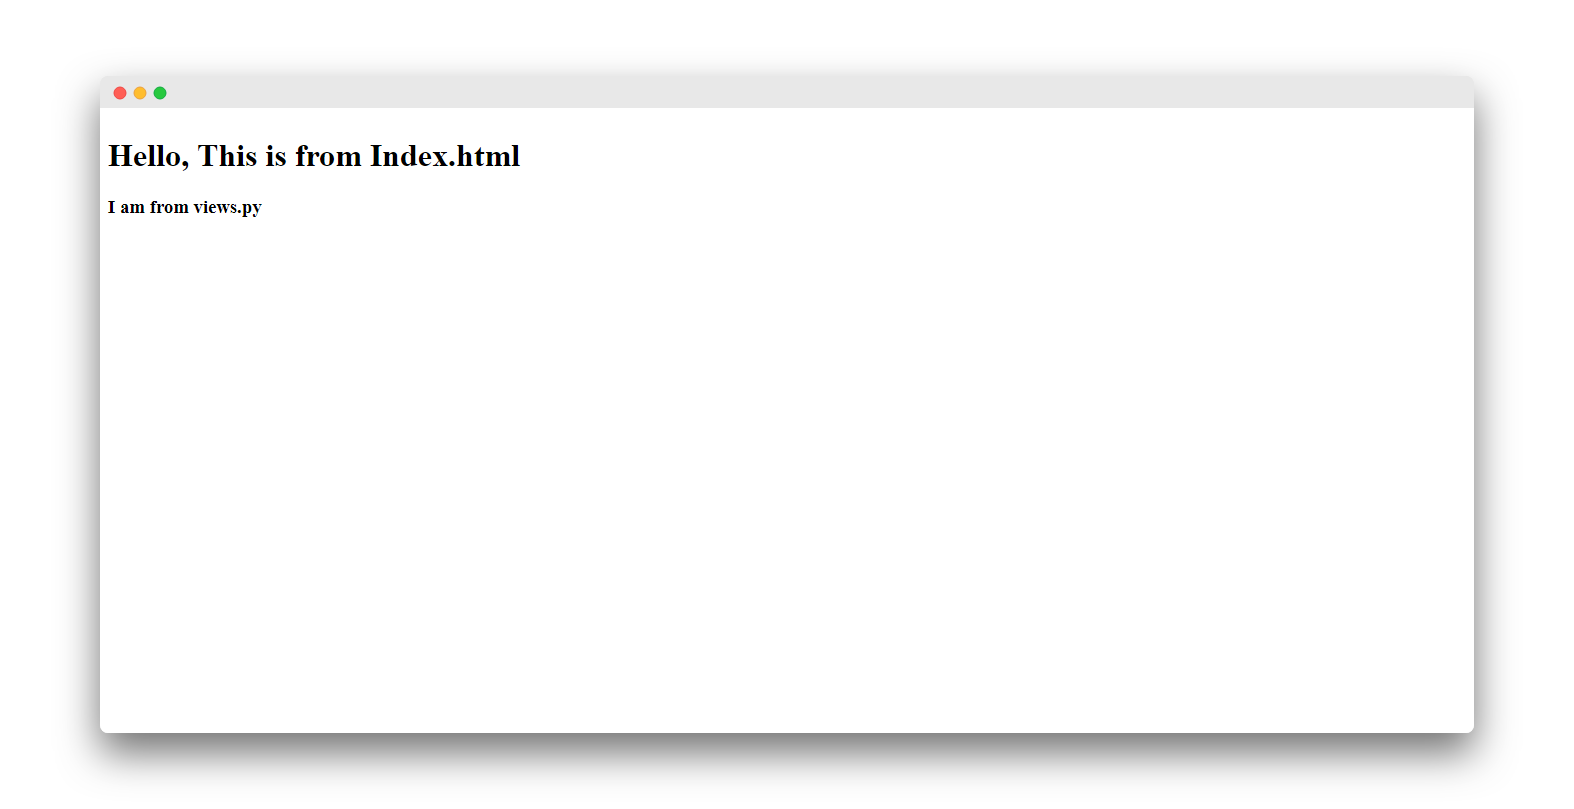
Notice how that variable injected the string into the HTML, that's the advantage of Django templates they make HTML dynamic.